
How to Apply Temporary Tattoos to Rocks

If you are new to painting rocks, it is easy to feel intimidated by all the beautiful painted rocks people in online rock groups are making.
The good news is that you can totally fake artistic ability with temporary tattoos!
That's right! The same tattoos you apply to your skin can be applied to rocks and everyone will be so impressed even if you are a total beginner.
This works best with black, white or metallic tattoos. You can apply colored tattoos but they look best when applied to white rocks or rocks that have been painted white first.
Supplies:
- Rocks (find out where to get the best rocks to paint here)
- Paint
- Paint brushes
- Temporary Tattoos
- Scissors
- Sponge
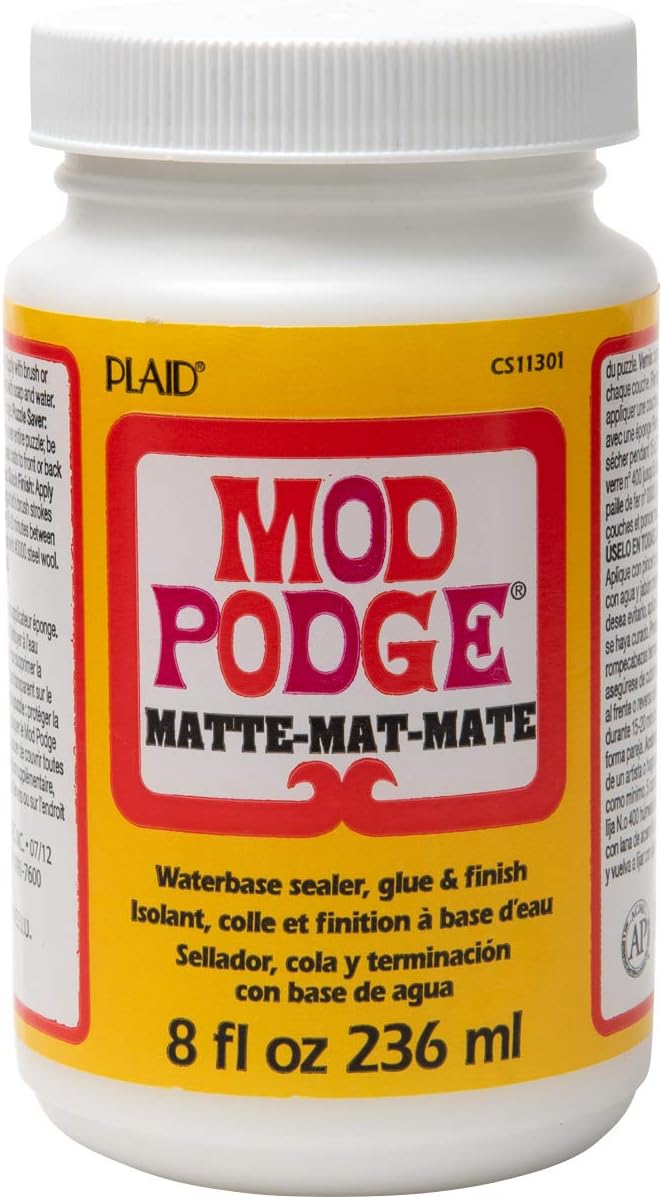
- Mod Podge (any formula/finish you like is fine)
- Spray sealer
Some of the links above may be affiliate links where a purchase made after clicking will support this website without costing you extra!

Join the rock painting community!
Join I Love Painted Rocks on social media to get inspired, watch rock painting tutorials and connect with rock painters around the world:
- Join the I Love Painted Rocks Facebook group
- Follow the I Love Painted Rocks' Facebook fan page
- Get inspired by rock painting ideas on Pinterest
How to Apply Temporary Tattoos to Rocks:
Steps:

- Select the temporary tattoo you want to apply and cut it out
- Paint a clean rock with paint if desired - you can also apply tattoos to naked rocks. Let dry.
- Peel the clear protective sheet off the tattoo and place face down on the rock.
- Hold a damp sponge on the back of the tattoo for 30 seconds.
- Use the sponge to rub the back of the rock until the paper begins to slide. If the paper does not begin to slide after 5-10 seconds of rubbing, hold a damp sponge in place for 30 additional seconds and then rub.
- Once paper begins to slide, peel paper off the rock.
- Smooth out design with sponge if needed. Allow to dry.
- Apply one very smooth coat of Mod Podge. Allow to dry.
- Apply 1-2 coats of acrylic spray sealer to weather proof them if you would like to place them outside.
Here is a sample of what it looks like when you follow the same technique but use plain black tattoos like these. Just follow the same procedure as above!

If you love this painted rocks project, don't forget to share it!


How to Apply Temporary Tattoos to Rocks
Yield: 1
Estimated cost: $1
If you are new to painting rocks, it is easy to feel intimidated by all the beautiful painted rocks people in online rock groups are making.
The good news is that you can totally fake artistic ability with temporary tattoos!
That's right! The same tattoos you apply to your skin can be applied to rocks and everyone will be so impressed even if you are a total beginner.
materials:
- Rocks (find out where to get the best rocks to paint here)
- Paint (I used Martha Stewart Acrylic in Blue Velvet)
- Metallic Temporary Tattoos
- Mod Podge (any formula/finish you like is fine)
- Spray sealer
tools:
- Paint brushes
- Scissors
- Sponge
steps:
- Select the temporary tattoo you want to apply and cut it out.
- Paint a clean rock with paint if desired - you can also apply tattoos to naked rocks. Let dry.
- Peel the clear protective sheet off the tattoo and place face down on the rock.
- Hold a damp sponge on the back of the tattoo for 30 seconds.
- Use the sponge to rub the back of the rock until the paper begins to slide. If the paper does not begin to slide after 5-10 seconds of rubbing, hold a damp sponge in place for 30 additional seconds and then rub.
- Once paper begins to slide, peel paper off the rock.
- Smooth out design with sponge if needed. Allow to dry.
- Apply one very smooth coat of Mod Podge. Allow to dry.
- Apply 1-2 coats of acrylic spray sealer to weather proof them if you would like to place them outside.
NOTES:
This works best with black, white or metallic tattoos. You can apply colored tattoos but they look best when applied to white rocks or rocks that have been painted white first.


Copyright 2019, I Love Painted Rocks
Did you make this project?
Tag @ilovepaintedrocks on instagram and hashtag it #ilovepaintedrocks
About the Author:
Carissa is a lifelong crafter and mom of two creative boys.
The owner and lead writer of both I Love Painted Rocks and Creative Green Living, she has won multiple awards for her craft writing including the Craftys Award for the "Best Craft Blogger" category in 2016 and the ShiftCon award for "Best DIY blogger" in 2018.
Her projects have been featured in magazines like Kids Crafts 1-2-3, Country Sampler Farmhouse Style and more.


Thank you for showing how to make tattoo rocks. I like to paint rocks but wanted to make some special Disney character rocks and I know they would be difficult to paint and have it look decent. I think i will try to use the tattoos to make them. Yours look great!
ReplyDeleteThanks for stopping by! If your rocks turn out, I'd love to see a picture! Feel free to share on our Facebook page.
Delete