
How to Paint Rocks that Look Like Ladybugs

This adorable ladybug painted rock idea is easy to execute - even if you think you aren't an artist.
Ladybugs are iconic of Spring time and new growth, but are a fun and bright addition to a rock garden or a rock hunt.
This simple Ladybug rock needs just 4 colors of paint and some drying time between layers, but it is simple and will melt your heart!
Make more variations of this easy ladybug rock by painting one in every color of the rainbow!
This is a super easy rock painting tutorial and it's perfect for kids! Break out your paints and get the whole family together to paint an army of ladybug rocks!!

Join the rock painting community!
Join I Love Painted Rocks on social media to get inspired, watch rock painting tutorials and connect with rock painters around the world:
- Join the I Love Painted Rocks Facebook group
- Follow the I Love Painted Rocks' Facebook fan page
- Get inspired by rock painting ideas on Pinterest
Easy Rock Painting Idea:
Kawaii Ladybug Painted Rock

Finding the perfect rocks to paint is my favorite past time.
We just got back from a camping trip to the lake and I may have ended up with 20 pounds of smooth, round rocks.
Thankfully, my husband supports this habit and the neighborhood kids love to see new painted rocks hidden around the yard. This ladybug rock is a definite hit.

Supplies:
Some of the links below may be affiliate links where a purchase made after clicking will support this website without costing you extra!
- Rocks (find out where to get the best rocks to paint here)
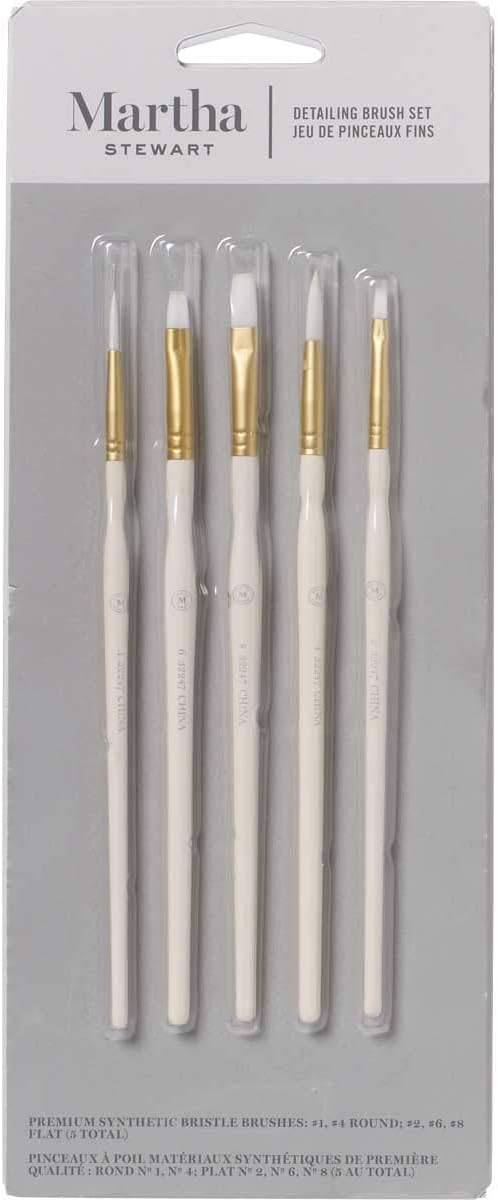
- Paintbrushes (larger)
- Paintbrushes (detail brushes)
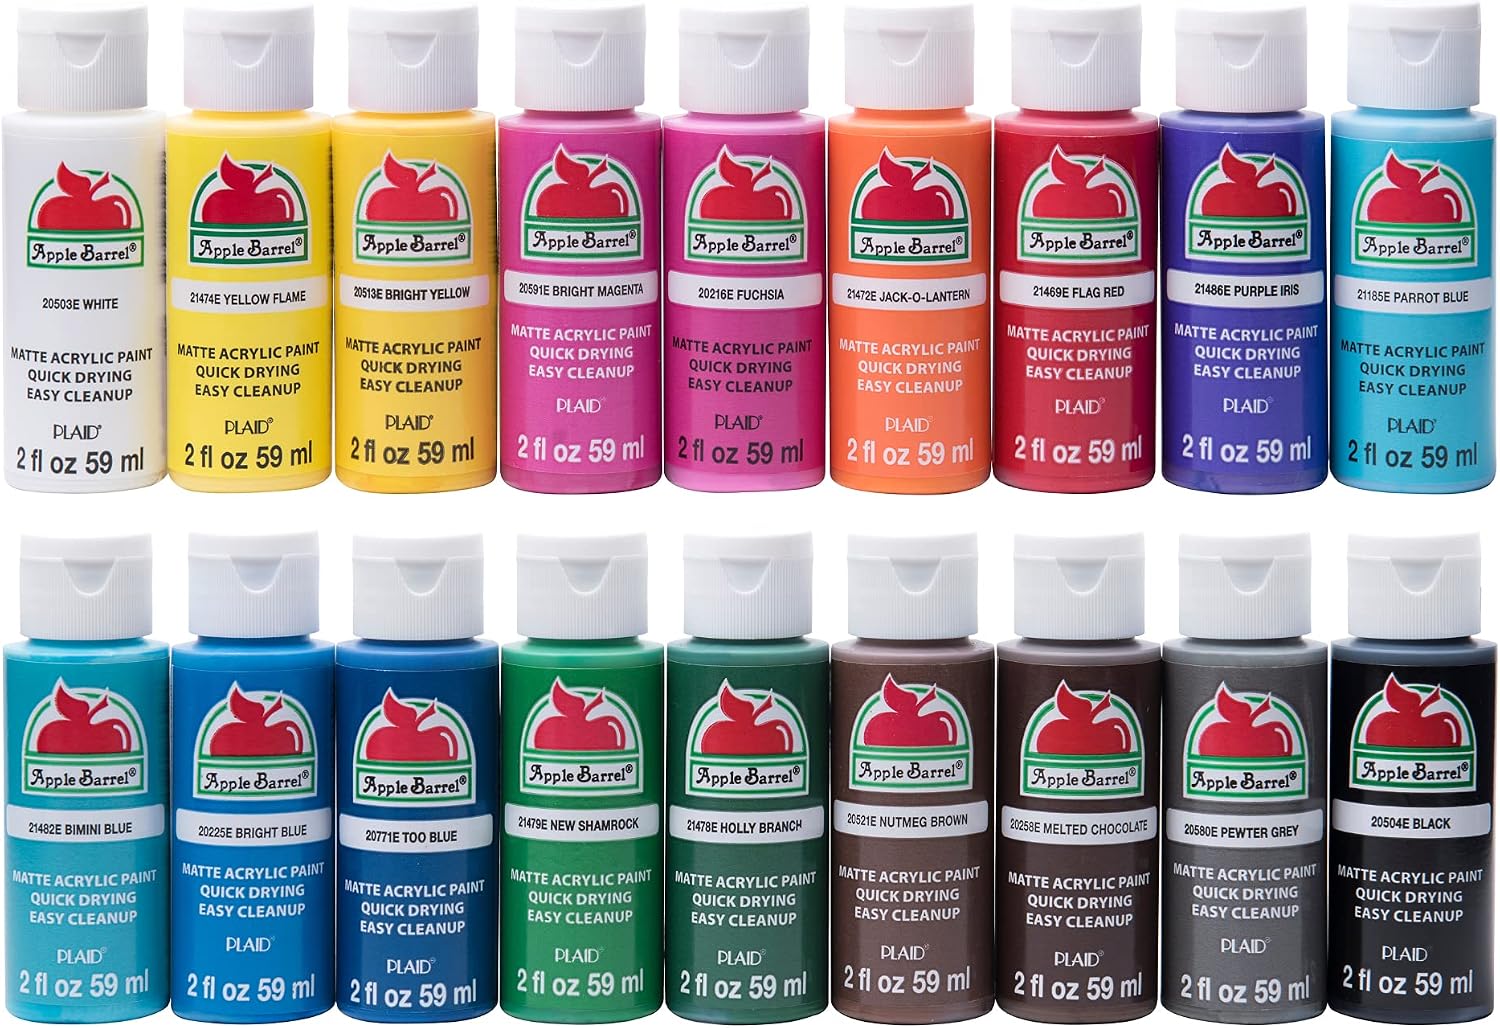
- Apple Barrel Acrylic Paint in these colors:
- Red
- White
- Black
- Caribbean Blue
- Clear spray sealer

Ladybug painted rock step 1: Base Color!

Begin by painting the underside of the rock red.
Let it dry completely, then flip over to the top side and paint the rest red.
Let the rock dry completely.
Let it dry completely, then flip over to the top side and paint the rest red.
Let the rock dry completely.
Ladybug painted rock step 2: Black Face & Spots!

Use a round brush to paint a black heart shaped face on the front of your ladybug rock.
Next, add round spots on the ladybug back.
Next, add round spots on the ladybug back.
Ladybug painted rock step 3: Wings!

A ladybug tucks "her" wings under the exoskeleton, so just paint a curved line down the back.
The curved line gives the ladybug a cartoony appearance, rather than literal.
Let the black paint dry completely.
The curved line gives the ladybug a cartoony appearance, rather than literal.
Let the black paint dry completely.
Ladybug painted rock step 4: White Eyes!

Use the round brush to paint two large, fairly close together white eyes. The bigger the eyes, the more kawaii the face will look.
Let the white eyes dry completely.
Let the white eyes dry completely.
Ladybug painted rock step 5: Blue Iris!

Use the round brush to paint big blue irises in the center of the white eyes, leaving white showing all around the edge.
Let the blue paint dry completely.
Let the blue paint dry completely.
Ladybug painted rock step 6: Pupils!

Use the end of a pencil eraser or the round paintbrush to paint black pupils in the center of the blue irises.
Let the black paint dry completely.
Let the black paint dry completely.
Ladybug painted rock step 7: Highlights!

Now add three little white dots, using a round pin head or dotting tool, on the edge of the pupils.
Mirror the placement for the other eye. This highlight gives the eyes the iconic kawaii look.
Mirror the placement for the other eye. This highlight gives the eyes the iconic kawaii look.
Ladybug painted rock step 8: Mouth!

Use a small detail brush or a dotting tool to draw a cute little red mouth below the eyes.
Ladybug painted rock step 9: Antenna!

Use a small detail brush or embossing stylus to draw on tiny little antenna curls right above the eyes.

Ladybug painted rock step 10: Gloss!

Finish off your adorable ladybug pet rock with a spray sealer...I love gloss!
If you love this painted rocks project, don't forget to share it!


How to Paint Rocks that Look Like Ladybugs
Yield: 1
Estimated cost: $2
Ladybugs are iconic of Spring time and new growth, but are a fun and bright addition to a rock garden or a rock hunt. This simple Ladybug rock needs just 4 colors of paint and some drying time between layers, but it is simple and will melt your heart! This is a super easy rock painting tutorial and it's perfect for kids! Break out your paints and get the whole family together to paint an army of ladybug rocks!!
materials:
- Rocks
- Apple Barrel Acrylic Paint in red, white, black, and caribbean blue
- Clear spray sealer
tools:
- Paintbrushes (larger)
- Paintbrushes (detail brushes)
steps:
- Begin by painting the underside of the rock red. Let it dry completely, then flip over to the top side and paint the rest red. Let the rock dry completely.
- Use a round brush to paint a black heart shaped face on the front of your ladybug rock. Next, add round spots on the ladybug back.
- A ladybug tucks "her" wings under the exoskeleton, so just paint a curved line down the back. The curved line gives the ladybug a cartoony appearance, rather than literal. Let the black paint dry completely.
- Use the round brush to paint two large, fairly close together white eyes. The bigger the eyes, the more kawaii the face will look. Let the white eyes dry completely.
- Use the round brush to paint big blue irises in the center of the white eyes, leaving white showing all around the edge. Let the blue paint dry completely.
- Use the end of a pencil eraser or the round paintbrush to paint black pupils in the center of the blue irises. Let the black paint dry completely.
- Now add three little white dots, using a round pin head or dotting tool, on the edge of the pupils. Mirror the placement for the other eye. This highlight gives the eyes the iconic kawaii look.
- Use a small detail brush or a dotting tool to draw a tiny little red mouth between the eyes.
- Use a small detail brush or embossing stylus to draw on tiny little antenna curls right above the eyes.
- Finish off your adorable pet ladybug rock with a spray sealer.
NOTES:
Get more help including step-by-step photos on the I Love Painted Rocks website.

Copyright 2019, I Love Painted Rocks
Did you make this project?
Tag @ilovepaintedrocks on instagram and hashtag it #ilovepaintedrocks
About the Author:
Natalie Shaw is a Craft/DIY blogger at Doodle Craft. She loves sci-fi, fantasy and video game geekery and that comes out in many of her projects. She posts budget conscious DIY’s, crafts, jewelry, kid friendly projects, upcycled treasures and other fun on her blog 5 days a week.You can find her on Twitter, Facebook, Pinterest, and Instagram.


Post a Comment