
How to Use Stamps to Paint Rocks

If you are looking for a creative way to paint rocks, you might want to try rock stamping!
Painting rocks with stamps is a great way to get perfect rocks if your drawing and painting skills aren't quite up to snuff.
Stamping can also provide a plain background that you can use to paint your rock with a Posca pen so you can fill it in coloring book style.
This rock painting idea is also perfect for creating plant marker style painted rocks without having to have perfect penmanship - the stamps will do the labeling for you!
Stamp the names of the different kinds of herbs and vegetables you're growing onto rocks to help keep track of what you planted where.
Of course, you can also paint your rocks with stamped images of butterflies, bugs, inspirational words and more!

Join the rock painting community!
Join I Love Painted Rocks on social media to get inspired, watch rock painting tutorials and connect with rock painters around the world:
- Join the I Love Painted Rocks Facebook group
- Follow the I Love Painted Rocks' Facebook fan page
- Get inspired by rock painting ideas on Pinterest
Easy Rock Painting Idea:
How to Use Stamps to Make Painted Rocks
This project tutorial originally appeared on our sister site, Creative Green Living. As such, the watermark reflects the original site name on which is appeared.
Rock Painting Supplies:
Some of the links below may be affiliate links where a purchase made after clicking will support this website without costing you extra!
- Smooth rocks (find out where to get the best rocks to paint here)
- Stampendous Perfectly Clear Stamps, Butterflies Set
- Stampendous Perfectly Clear Stamps - Encouraging Words
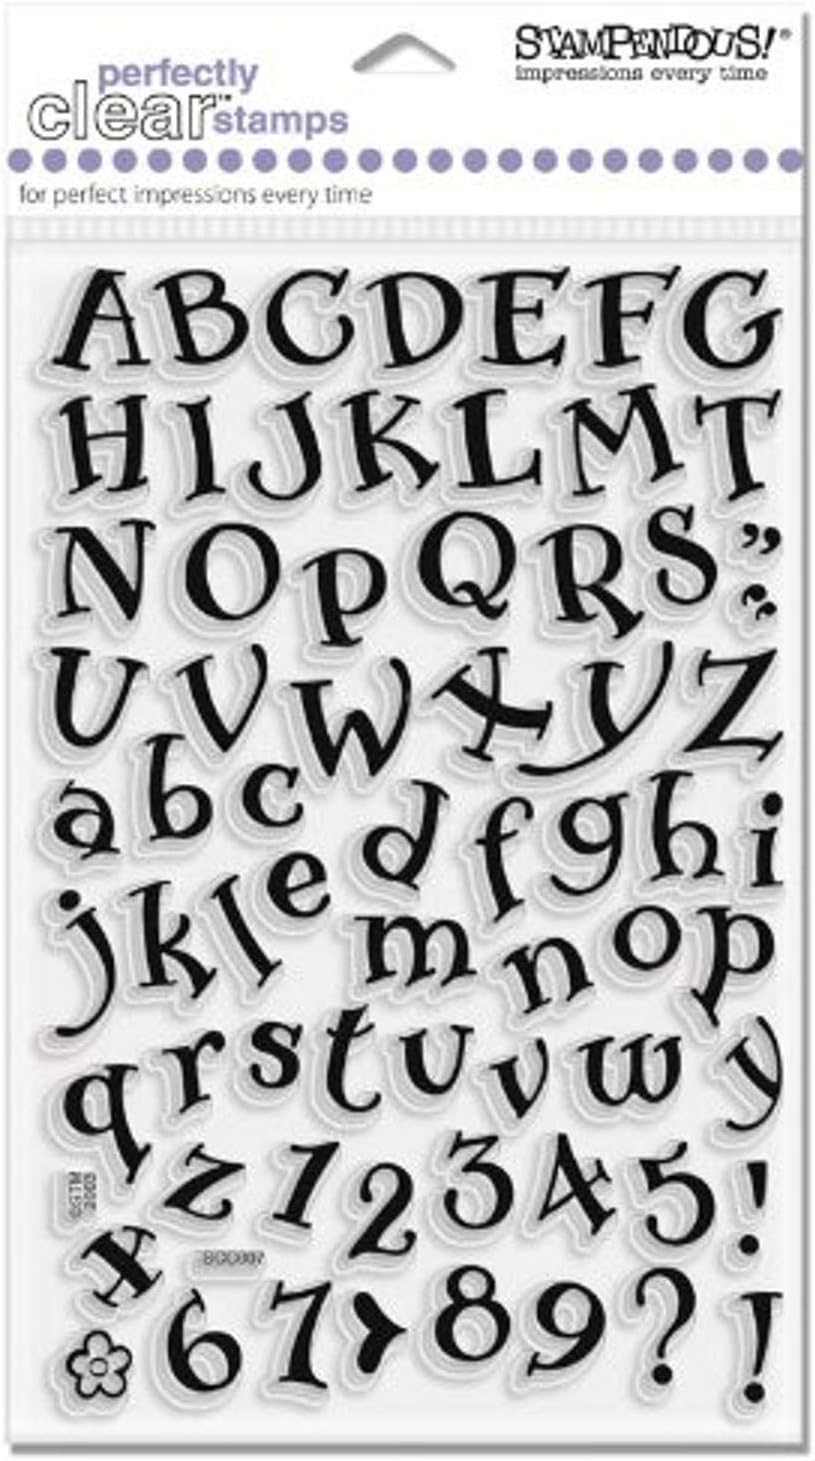
- Stampendous Perfectly Clear Polymer Stamps, Storybook Alphabet
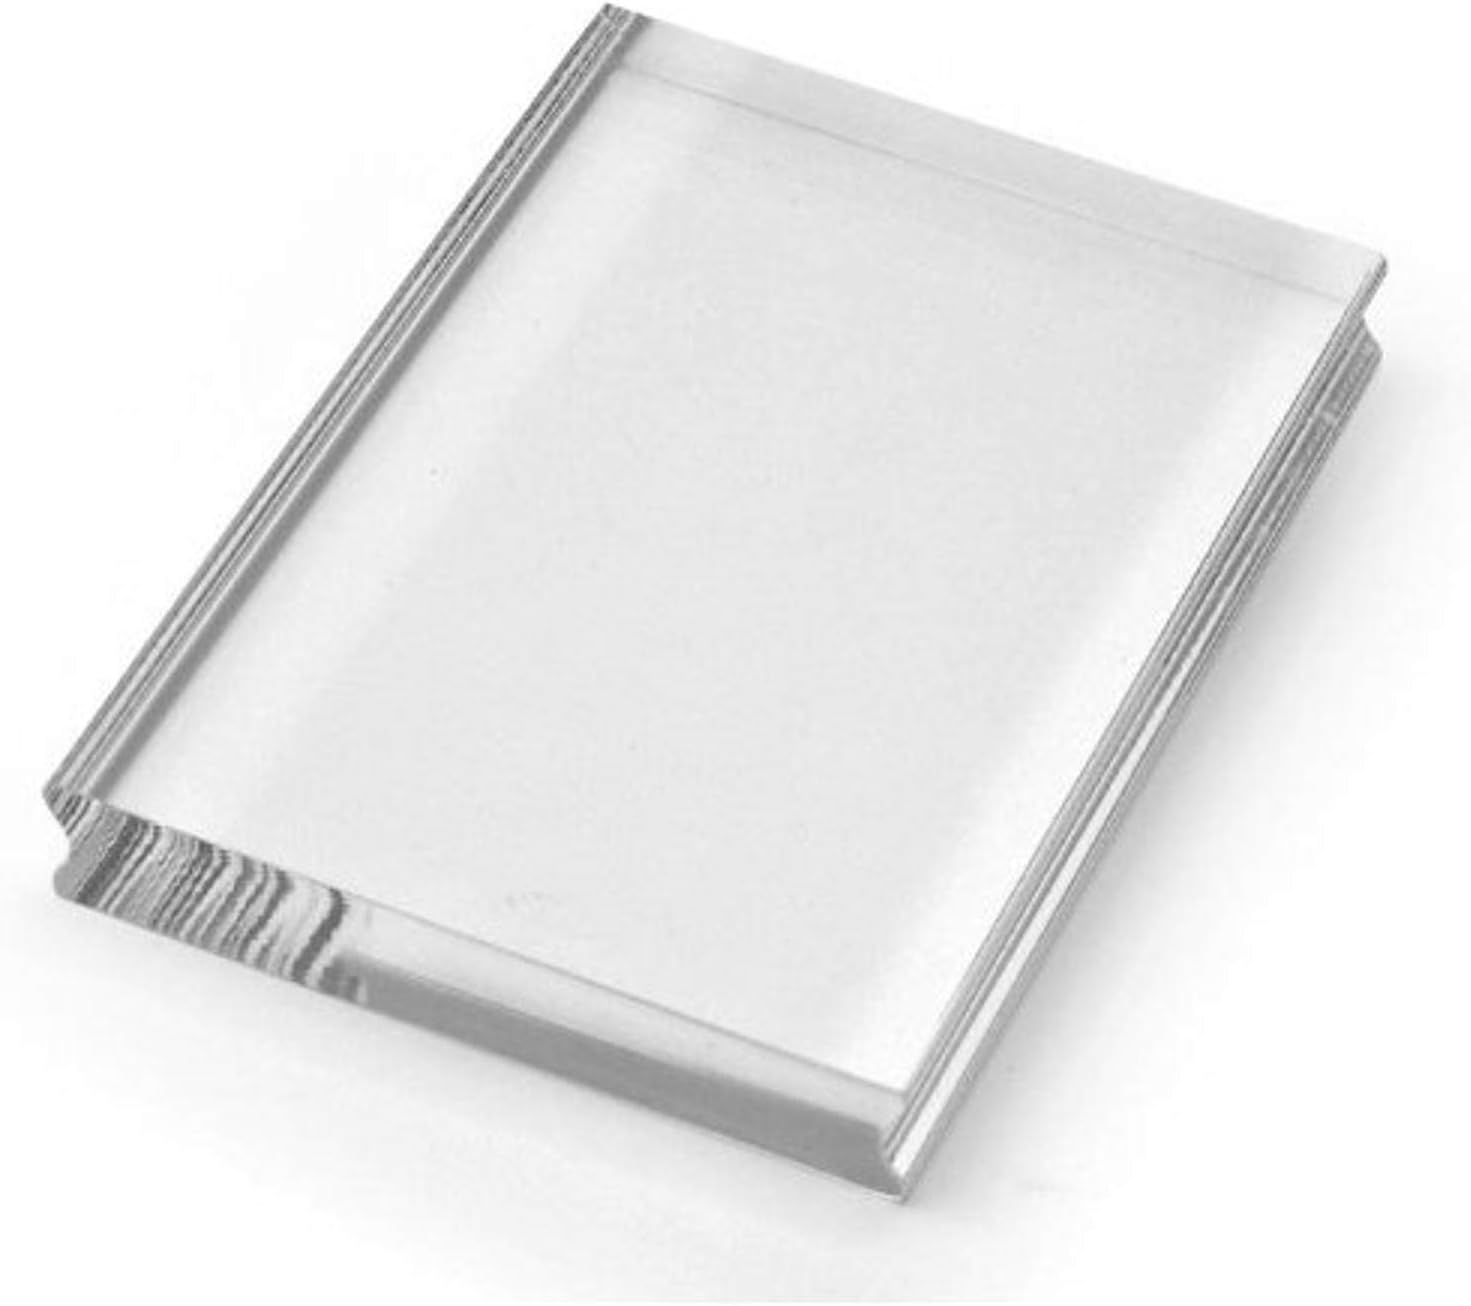
- Stampendous Medium Handle
- Black archival ink
- Clear spray sealer
Directions:
Stamped Rocks Step 1: Match stamps and rocks
Select smooth stones that are an appropriate size for the stamps you'd like to use. For best results, choose rocks that have very little texture in the stamped area.
Stamped Rocks Step 2: Ink your stamp
Peel your chosen stamp up from it's backing sheet and adhere to a clear handle. Holding the clear handle, pounce the stamp the ink pad until all the detail lines are well inked.


Stamped Rocks Step 3: Peel the stamp off
Being careful not to touch the inked area, carefully peel the stamp off the handle and hold it with the sticky side resting on your fingers.

Stamped Rocks Step 4: Stamp the rock
Carefully line the inked side of your stamp up on your rock and press down firmly, contouring the stamp to the rock's curves as needed but without rocking. Gently lift up and admire your work.

Stamped Rocks Step 5: Weatherproof your rocks
Some types of ink become permanent when heat set. Other types will need a waterproof sealer to keep the ink from running while out in the weather.
Check the label of your ink for information on whether or not it can be heat set. If your ink is not a heat setting type, experiment with some of the different types of rock sealers to find one that works for you (light coats of spray sealer are probably your best bet).
Check the label of your ink for information on whether or not it can be heat set. If your ink is not a heat setting type, experiment with some of the different types of rock sealers to find one that works for you (light coats of spray sealer are probably your best bet).
Stamped Rocks Technique: How to stamp lettering onto rocks
If you choose smooth, flat rocks for lettering, you can do lettering following a similar procedure as above but without removing the individual stamps from the handle. Simply line the letters up on the handle, ink and press.

More Stamped Rocks
Here are some more of the rocks I made using these stamps:


If you love this painted rocks project, don't forget to share it!


How to Use Stamps to Paint Rocks
Yield: 1
Estimated cost: $1
If you are looking for a creative way to paint rocks, you might want to try rock stamping! Painting rocks with stamps is a great way to get perfect rocks if your drawing and painting skills aren't quite up to snuff. Stamping can also provide a plain background that you can use to paint your rock with a Posca pen so you can fill it in coloring book style.
materials:
- Smooth rocks
- Black archival ink
- Clear spray sealer
tools:
- Stampendous Perfectly Clear Stamps
- Stampendous Medium Handle
steps:
- Select smooth stones that are an appropriate size for the stamps you'd like to use. For best results, choose rocks that have very little texture in the stamped area.
- Peel your chosen stamp up from it's backing sheet and adhere to a clear handle.
- Holding the clear handle, pounce the stamp the ink pad until all the detail lines are well inked.
- Being careful not to touch the inked area, carefully peel the stamp off the handle and hold it with the sticky side resting on your fingers.
- Carefully line the inked side of your stamp up on your rock and press down firmly, contouring the stamp to the rock's curves as needed but without rocking. Gently lift up and admire your work.
- If your ink is not a heat-setting type, then apply light coats of spray sealer.
NOTES:
For best results, choose rocks that have very little texture in the stamped area. If you choose smooth, flat rocks for lettering, you can do lettering following a similar procedure as above but without removing the individual stamps from the handle. Simply line the letters up on the handle, ink and press.

Copyright 2019, I Love Painted Rocks
Did you make this project?
Tag @ilovepaintedrocks on instagram and hashtag it #ilovepaintedrocks
About the Author:
Carissa is a lifelong crafter and mom of two creative boys.
The owner and lead writer of both I Love Painted Rocks and Creative Green Living, she has won multiple awards for her craft writing including the Craftys Award for the "Best Craft Blogger" category in 2016 and the ShiftCon award for "Best DIY blogger" in 2018.
Her projects have been featured in magazines like Kids Crafts 1-2-3, Country Sampler Farmhouse Style and more.


Post a Comment